
If you’re a book lover, you probably have a lot of books and you need a place to store them. A bookcase is a perfect solution, but store-bought bookcases can be expensive and may not fit your space or style. Building your own bookcase shelves is a great option. Not only is it cost-effective, but you can customize it to fit your space and taste.
Building bookcase shelves may seem daunting, but it’s actually a straightforward process that can be completed in a few simple steps. The first step is to determine the purpose of your bookcase. Will you be storing books, displaying collectibles, or a combination of both? Once you know the purpose, you can decide on the size, style, and materials you’ll need.
Whether you’re a seasoned DIYer or a beginner, building bookcase shelves is a great project that can be completed in a weekend. In this article, we’ll walk you through the steps to build a bookcase that fits your needs and style. From choosing the right materials to assembling the shelves, we’ve got you covered. So, let’s get started!
Tools and Materials
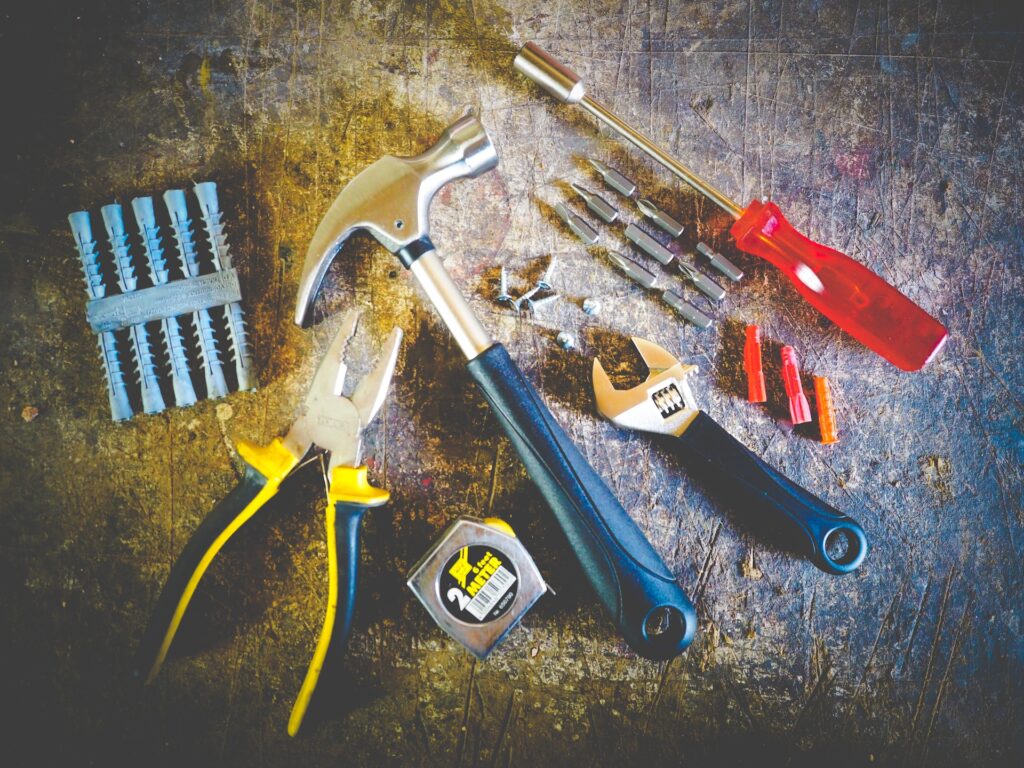
Building bookcase shelves requires a few tools and materials. Here is a list of what you will need:
- Table saw or circular saw
- Drill and drill bits
- Screwdriver (either a 4-in-1 or Phillips head)
- Clamps
- Wood glue
- Sandpaper (medium and fine grit)
- Paint or stain (optional)
- Paintbrush or roller (optional)
- Wood (plywood, pine, birch, or oak)
It’s important to have the right tools for the job to ensure that your bookcase shelves are sturdy and well-constructed. A table saw or circular saw will be necessary to cut the wood to the correct size. A drill and drill bits will be used to make pilot holes for screws and to attach the shelves to the frame. A screwdriver, either a 4-in-1 or Phillips head, will be used to tighten the screws.
Clamps will be helpful to hold the wood in place while you work on it. Wood glue will be used to attach the shelves to the frame for added stability. Sandpaper, both medium and fine grit, will be used to smooth out any rough edges and surfaces. If you want to add some color or protection to your bookcase shelves, you can use paint or stain. A paintbrush or roller will be necessary to apply the paint or stain.
Finally, you will need wood for your bookcase shelves. Plywood is a budget-friendly option that can be sanded and painted. Pine, birch, and oak are popular choices for their durability and natural beauty.
Planning and Preparation

Measuring and Marking
Before starting the construction process, it is essential to measure the space where the bookcase will go. Take accurate measurements of the height, width, and depth of the area to ensure that the bookcase will fit appropriately. Make sure to measure the height of the ceiling as well to determine how tall the bookcase can be.
- Use a tape measure to measure the space where the bookcase will go
- Measure the height, width, and depth of the area
- Measure the height of the ceiling
After measuring the space, mark the measurements on the wood to ensure accurate cuts. Use a pencil and a straight edge to make straight lines, and double-check the measurements before cutting.
- Mark the measurements on the wood with a pencil and straight edge
- Double-check the measurements before cutting
Cutting the Wood
After measuring and marking the wood, it is time to cut it. Use a saw to cut the wood to the correct length and width. Make sure to cut the wood precisely, and double-check the measurements before cutting.
- Use a saw to cut the wood to the correct length and width
- Cut the wood precisely
- Double-check the measurements before cutting
Sanding and Smoothing
After cutting the wood, it is essential to sand and smooth the edges to prevent splinters and ensure a clean finish. Use sandpaper or a sander to smooth the edges of the wood, and make sure to sand evenly. Sand the wood until it is smooth to the touch.
- Use sandpaper or a sander to smooth the edges of the wood
- Sand the wood until it is smooth to the touch
- Sand evenly to prevent an uneven finish
Building the Bookcase Shelves

Building the Frame
The first step in building bookcase shelves is constructing the frame. This involves cutting the legs, shelves, and supports to the desired length and attaching them together. Here are the steps:
- Cut the legs, shelves, and supports to the desired length.
- Attach the supports to the legs using wood glue and screws.
- Assemble the box by attaching the shelves to the supports using wood glue and screws.
Installing the Shelves
Once the frame is complete, it’s time to install the shelves. Here’s how:
- Measure and mark where each shelf will be installed.
- Attach shelf brackets to the inside of the frame at each mark.
- Slide the shelves onto the brackets and secure them in place using screws.
Adding the Back Panel
The final step in building bookcase shelves is adding the back panel. This is important for stability and to prevent items from falling out the back. Here are the steps:
- Measure the length and width of the back of the frame.
- Cut a piece of plywood to fit these dimensions.
- Attach the plywood to the back of the frame using wood glue and nails.
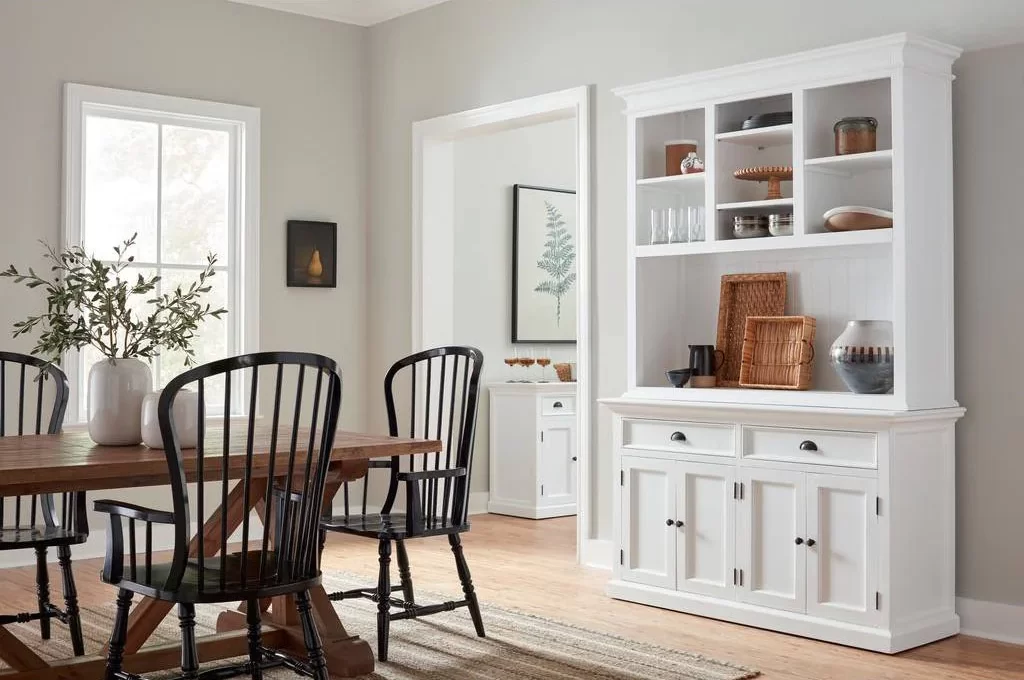
Now that the shelves are built and installed, you can customize them to your liking by painting or staining them. You can also add trim or molding to give them a more finished look. With just a few simple steps, you can have a beautiful and functional bookcase to display all of your favorite books and items.
Finishing Touches
Staining or Painting
Once your bookcase shelves are built, it’s time to add some finishing touches to make them look great. One option is to stain or paint the shelves to match the decor of the room. Here are some tips:
- Choose a stain or paint that complements the color scheme of the room.
- Test the stain or paint on a small, hidden area of the bookcase to make sure you like the color and finish.
- Apply the stain or paint in thin, even coats, allowing each coat to dry completely before applying the next.
- Use a brush or roller to apply the stain or paint, depending on the surface of the bookcase.
Adding Trim or Molding
Another way to add a finishing touch to your bookcase shelves is to add trim or molding. This can help give the shelves a more polished look and can also help hide any imperfections in the construction. Here are some tips:
- Choose a trim or molding that complements the style of the bookcase and the room.
- Measure the length and width of each shelf before cutting the trim or molding to size.
- Use a miter saw to cut the trim or molding at a 45-degree angle for corners and edges.
- Attach the trim or molding to the front of the shelves using wood glue and finishing nails.
By staining or painting your bookcase shelves and adding trim or molding, you can give them a professional, polished look that will enhance the overall decor of the room.
Conclusion
Building bookcase shelves is a fun and rewarding DIY project that can add both function and style to your home. With a little planning and some basic woodworking skills, you can create custom shelves that perfectly fit your space and your storage needs.
Here are some key takeaways to keep in mind as you tackle this project:
- Measure twice, cut once: Taking accurate measurements is crucial to ensuring that your shelves fit properly and look great.
- Choose the right materials: Select high-quality lumber that is sturdy and durable, and consider using decorative elements like moldings to add visual interest.
- Use the right tools: Having the right tools on hand can make all the difference when it comes to cutting, sanding, and assembling your shelves.
- Take your time: Building bookcase shelves is a process that requires patience and attention to detail. Don’t rush, and enjoy the process!
In conclusion, building bookcase shelves can be a fun and rewarding DIY project that can add a personal touch to your home decor. With the right tools and materials, anyone can create a custom bookcase that fits their unique style and needs. However, for those who may not have the time, skills or resources to build their own bookcase shelves, there is another option. Many online retailers, such as Archic Furniture, offer prebuilt bookcases that can be customized to fit your space and style preferences. Whether you choose to build your own bookcase shelves or purchase prebuilt ones, the end result will be a beautiful and functional addition to your home.