
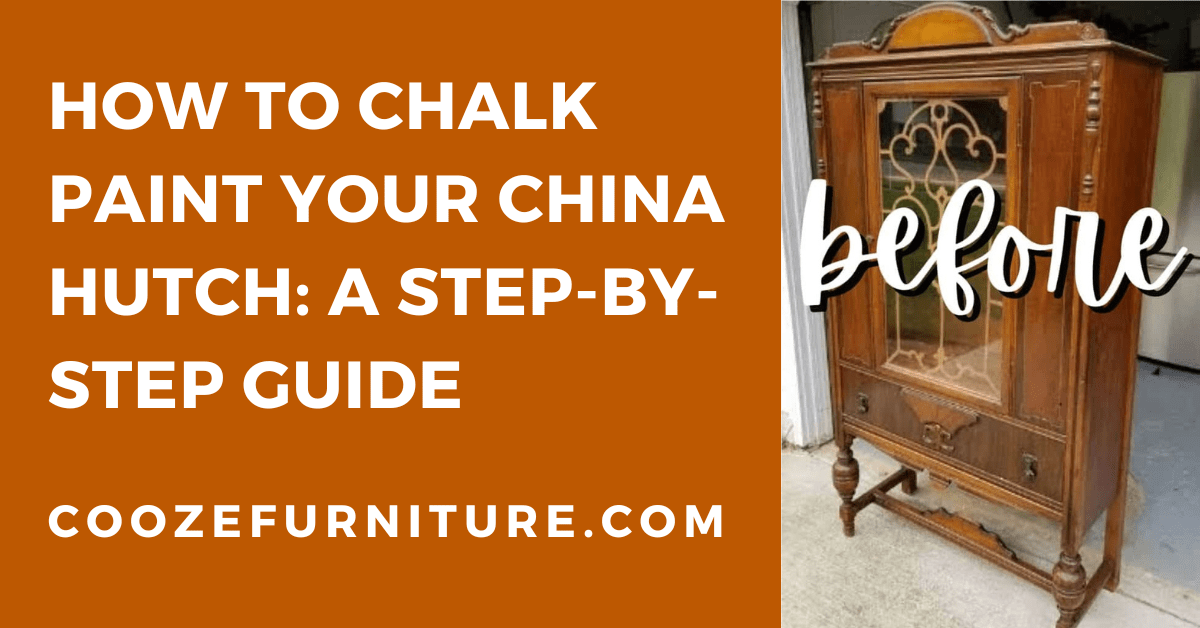
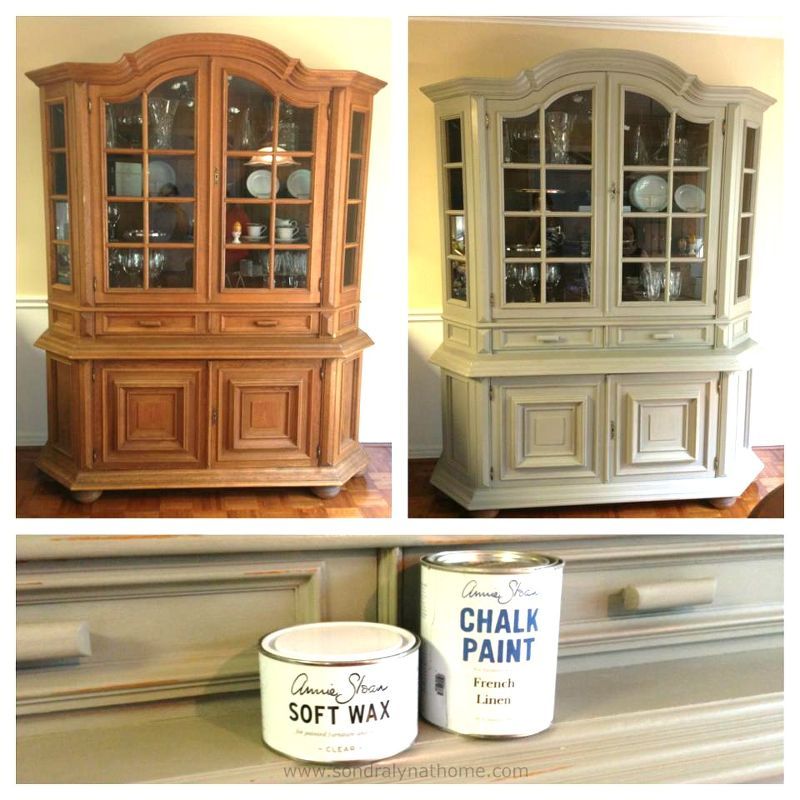
Chalk paint is a popular way to give old furniture a new lease on life. It’s a versatile and easy-to-use paint that can be used on a variety of surfaces, including wood, metal, and even fabric. One piece of furniture that can benefit from a chalk paint makeover is the china hutch. With a fresh coat of chalk paint, a tired and outdated china hutch can be transformed into a stylish and modern piece that will complement any decor.
Chalk paint is a great choice for painting a china hutch because it goes on smoothly and dries quickly, leaving a beautiful matte finish. It also adheres well to most surfaces, so you won’t need to spend hours sanding and priming the hutch before you start painting. Plus, chalk paint is easy to distress, which means you can create a shabby chic or vintage look if that’s what you’re after.
If you’re ready to give your china hutch a chalk paint makeover, there are a few things you’ll need to know before you get started. In this article, we’ll walk you through the steps you need to follow to paint a china hutch with chalk paint, from prepping the surface to applying the final coat of paint. We’ll also share some tips and tricks to help you get the best results possible, so you can enjoy your newly painted china hutch for years to come.
Preparing the Hutch
Cleaning the Hutch
Before painting your china hutch, it is important to clean it thoroughly. Here are the steps to follow:
- Remove all items from the hutch, including shelves and drawers.
- Use a soft cloth or duster to remove any dust or cobwebs.
- Mix a small amount of gentle dish soap with warm water.
- Dip a clean cloth into the soapy water and wring it out well.
- Wipe down the entire hutch, including shelves and drawers, with the damp cloth.
- Rinse the cloth and wipe down the hutch again with clean water to remove any soap residue.
- Allow the hutch to dry completely before moving on to the next step.
Sanding the Hutch
If your hutch is unpainted or has flaking paint, you will need to sand it down before painting. Here’s how:
- Use a fine-grit sandpaper to sand the entire surface of the hutch.
- If there are any areas with flaking paint, sand those areas until they are smooth.
- Wipe down the hutch with a clean, damp cloth to remove any dust created by sanding.
- Allow the hutch to dry completely before moving on to the next step.
Applying the Chalk Paint
Choosing the Paint Color
- Consider the style of the room and the overall color scheme when choosing a paint color.
- Neutral colors like white, cream, or gray are versatile and can match a variety of decor styles.
- Bolder colors like navy or emerald green can add a pop of color and make a statement.
- Take into account the natural lighting in the room, as well as the size of the hutch, as these factors can affect how the color looks in the space.
Applying the First Coat
- Start by cleaning the hutch thoroughly with a damp cloth and allowing it to dry completely.
- Apply the first coat of chalk paint using a brush or roller, depending on the size of the hutch.
- Be sure to paint in the direction of the wood grain for a smooth finish.
- Allow the first coat to dry completely before moving on to the second coat.
Applying the Second Coat
- Apply the second coat of chalk paint in the same manner as the first coat.
- Be sure to cover any areas that may have been missed in the first coat.
- Allow the second coat to dry completely before moving on to distressing the hutch.
Distressing the Hutch
- After the second coat has dried, use sandpaper or a sanding block to distress the hutch in areas where natural wear and tear would occur over time.
- Focus on areas like the edges and corners, as well as any raised details on the hutch.
- Be sure to sand lightly to avoid removing too much paint.
- After distressing, wipe the hutch down with a damp cloth to remove any dust or debris.
Finishing Touches
Sealing the Hutch
After the paint has dried completely, it’s time to seal the hutch to protect it from wear and tear. Here are a few options for sealing:
- Wax – Apply a thin layer of wax with a soft cloth and buff it off after it dries. This will give the hutch a matte finish.
- Polycrylic – This water-based sealer is easy to apply with a brush and dries clear. It will give the hutch a glossy finish.
- Polyurethane – This oil-based sealer is more durable than polycrylic, but it can yellow over time. Apply it with a brush and let it dry completely before reassembling the hutch.
Reassembling the Hutch
Now that the hutch is painted and sealed, it’s time to put it back together. Here are a few tips:
- Replace any hardware that you removed before painting.
- Use a level to make sure the hutch is straight before attaching it to the wall.
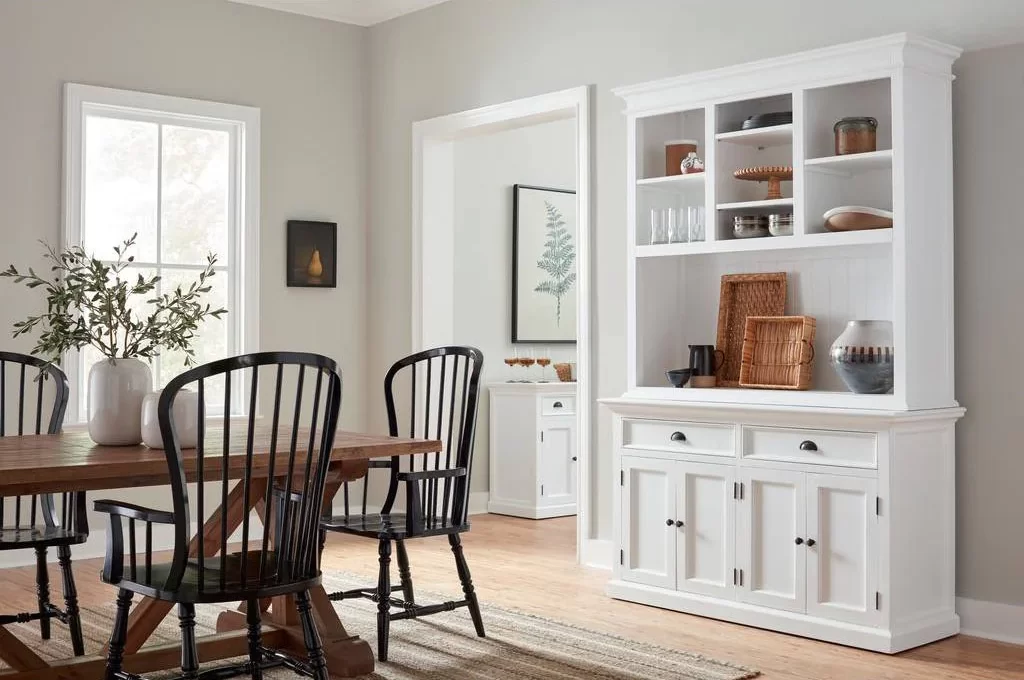
- Arrange your dishes and decor items in an aesthetically pleasing way.
With these final touches, your chalk-painted china hutch will look like a brand new piece of furniture!